Vodka Sauce for Uncle Warren

Vodka Sauce used with Baked Manicotti with Kale
This is probably my all time favorite pasta sauce, taught to me over 20 years ago by my dear friend Silvia Pavani, one of the best cooks I have ever met. I am eternally grateful to her for infusing me with the joy and passion for great pasta (and great coffee!)
This recipe has probably deviated quite a bit over the years, since I just wing it every time I make it now. I was encouraged by Silvia’s own adventuresome spirit – she made this sauce without finishing it with heavy cream, as is traditional. She said it simply “wasn’t necessary” and I think she was spot on. I have never had a better Vodka sauce, and it’s easily made vegan.
It is a nostalgic recipe for me, full of old times and dear friends. It is a sauce full of love and memories. And recently I had the absolute pleasure of making it for my dad’s older brother, my Uncle Warren – an avid pasta fan who’s total delight in every bite made the recipe even sweeter. This one’s for you Uncle Warren!
(Pasta alla) Vodka Sauce
- 2 medium onions
- 1/2 cup water, plus more as needed
- 1/2 cup Vodka (split)
- 1/4 c butter (or substitute olive oil)
- 3 T olive oil
- pinch or two red pepper flakes
- 1/2 t salt
- 1 large (28 oz) can diced or whole tomatoes (Use high quality like Muir Glen)
- 1/4 c freshly grated Parmesan cheese (optional)
Prepare the Vodka Sauce:
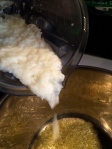
 In a blender, puree onions, water and first 1/4 cup vodka until smooth. Set aside.
In a large, heavy skillet, melt butter and olive oil over medium heat. Add a pinch or two of red chile flakes and fry for a split second before pouring onion puree into the pan. Add salt and mix well to combine. Cook over medium heat for 10- 12 minutes, stirring occasionally, until all the water is evaporated and onion puree is mild and sweet. Do not brown. When the onions start to noticeably fry (listen to them!) after 7- 8 minutes and look like a paste,- then add a splash of water (2 T), stir to deglaze the pan, and let cook down some more. Hover, stir, let cook, taste, add water, let cook, hover, stir…I do this 3 – 4 times, depending on the sharpness of the onions. Be attentive and do not skimp on this step – the flavor and sweetness of the onions carries the whole sauce. It will take about 10 – 20 minutes.
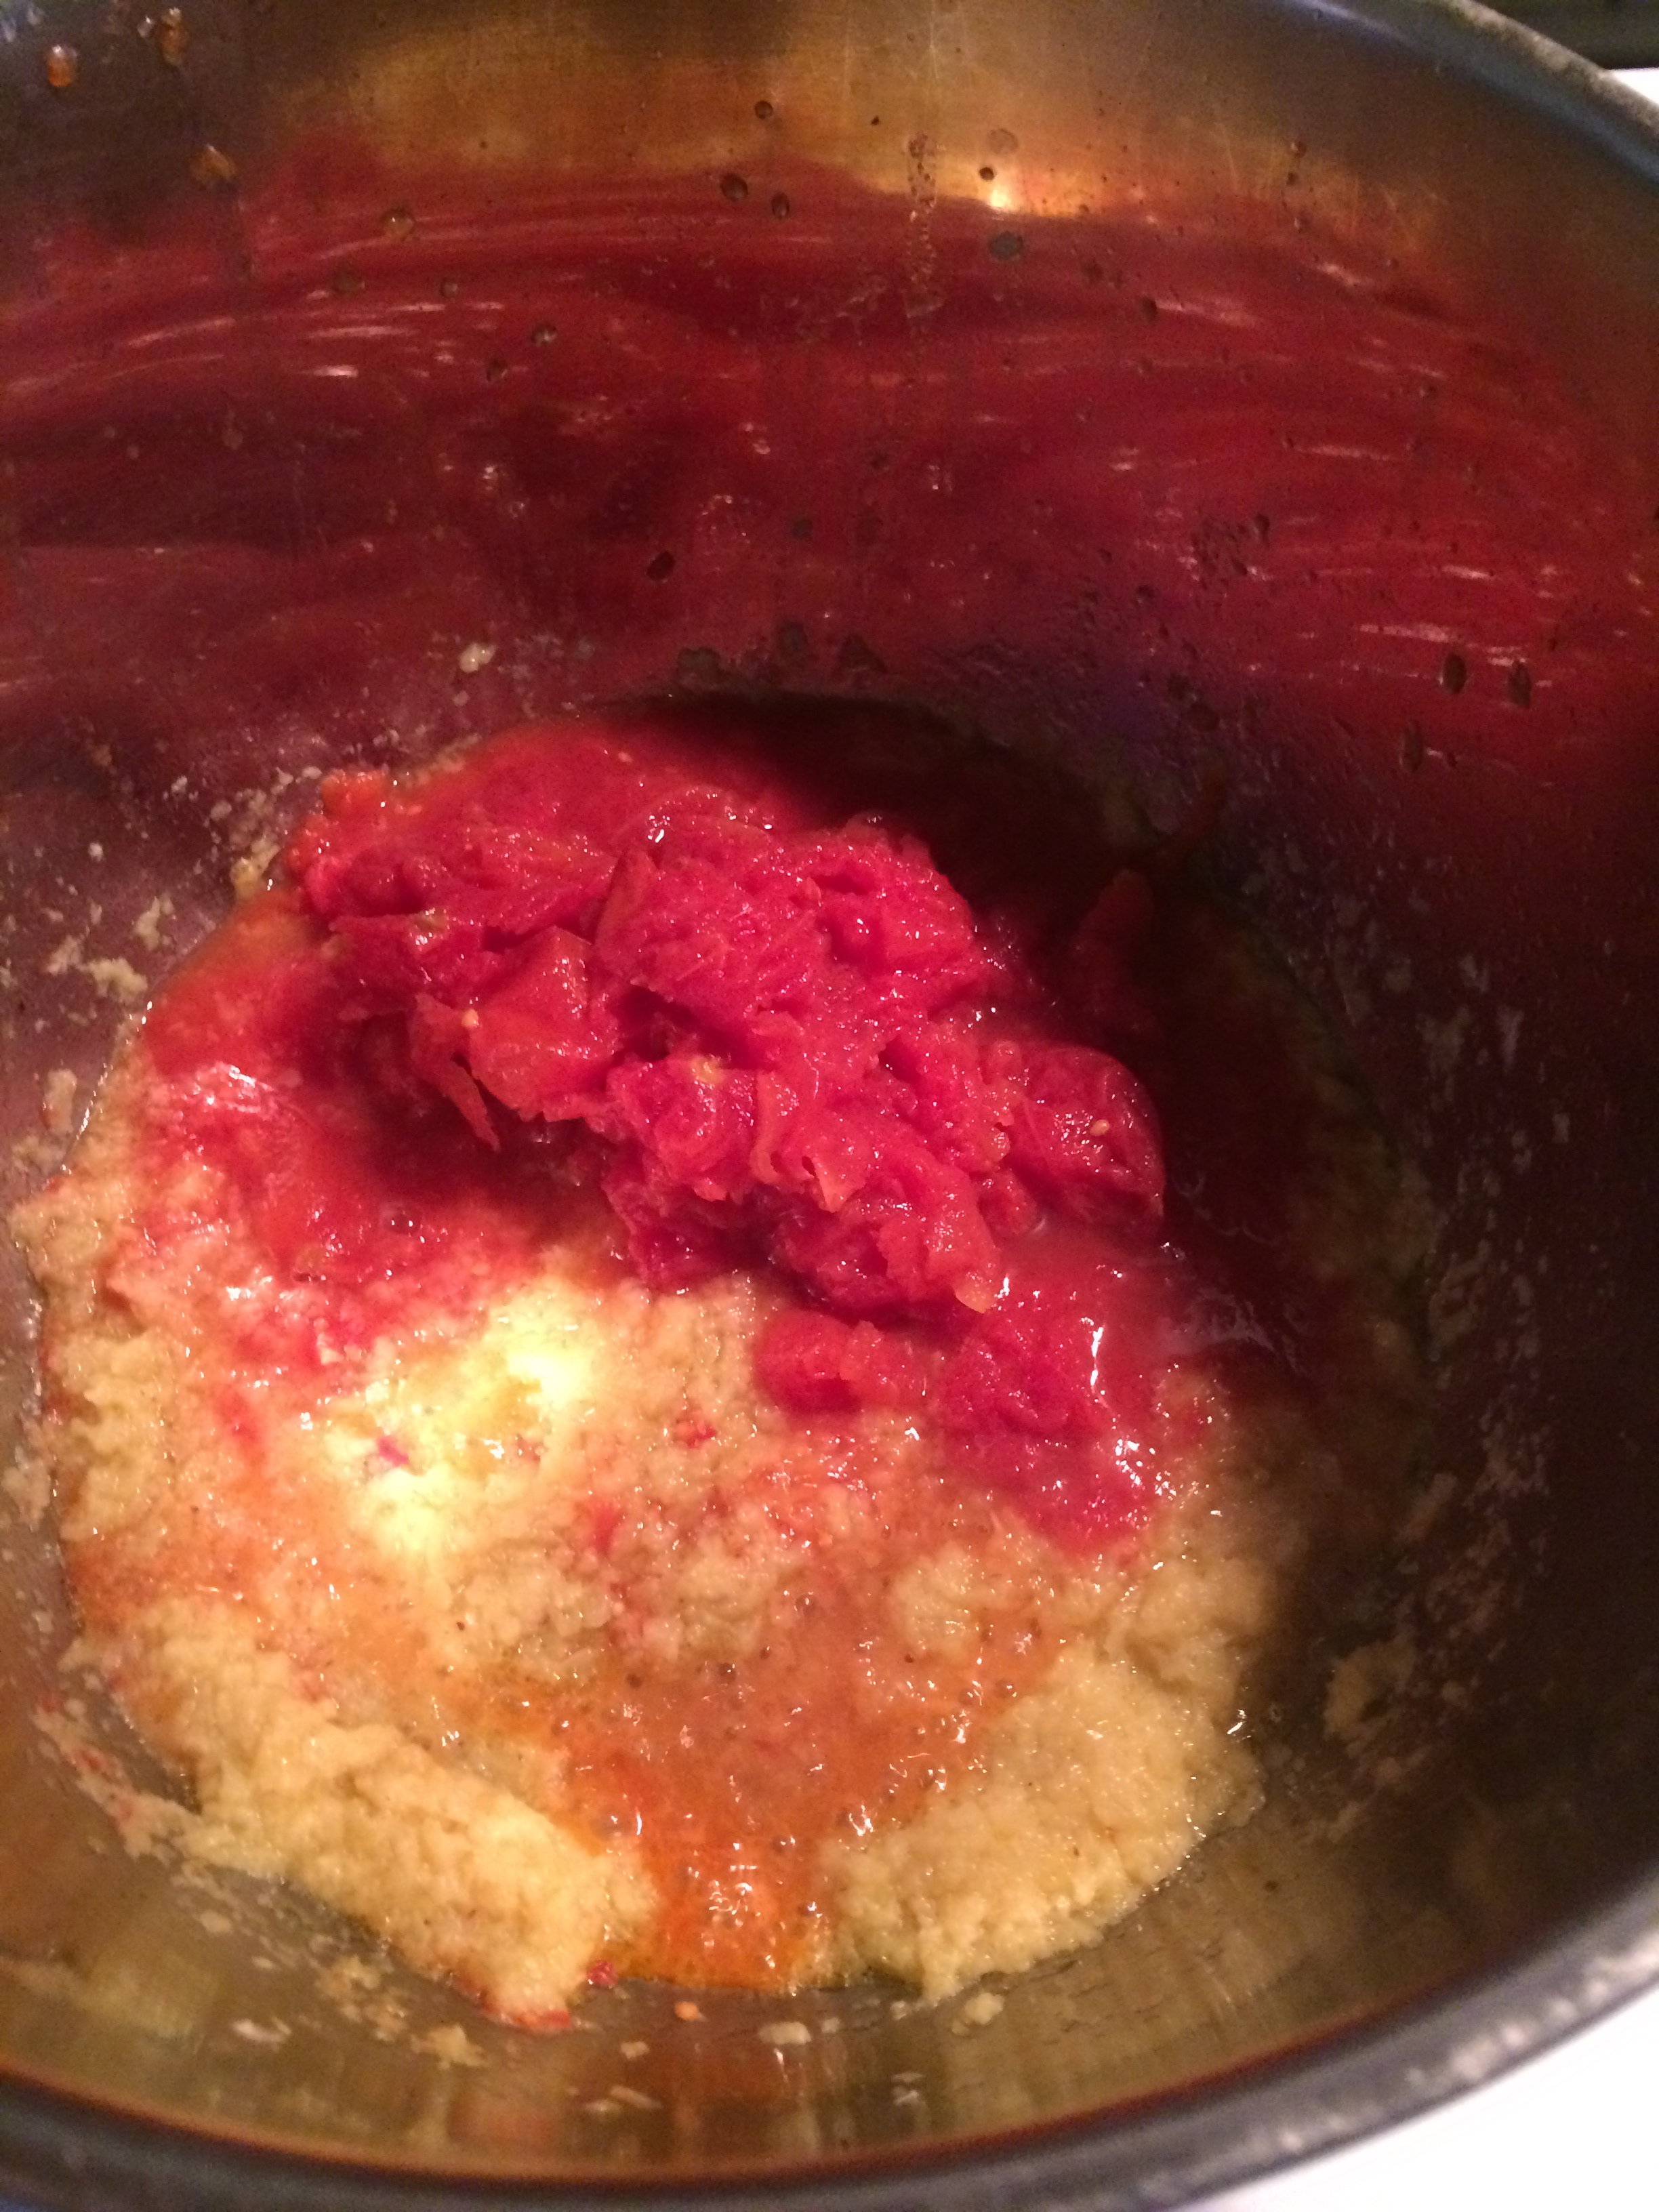
When all the water is cooked out and the onion paste is very sweet and has lost it’s bite, it is time to add the tomatoes: do this by reaching into the can with one hand and grabbing handfuls of diced or whole tomatoes and crushing them BY HAND, squishing them though your fingers into the bubbling onions. (Don’t ask me why this makes it taste good, but it does).
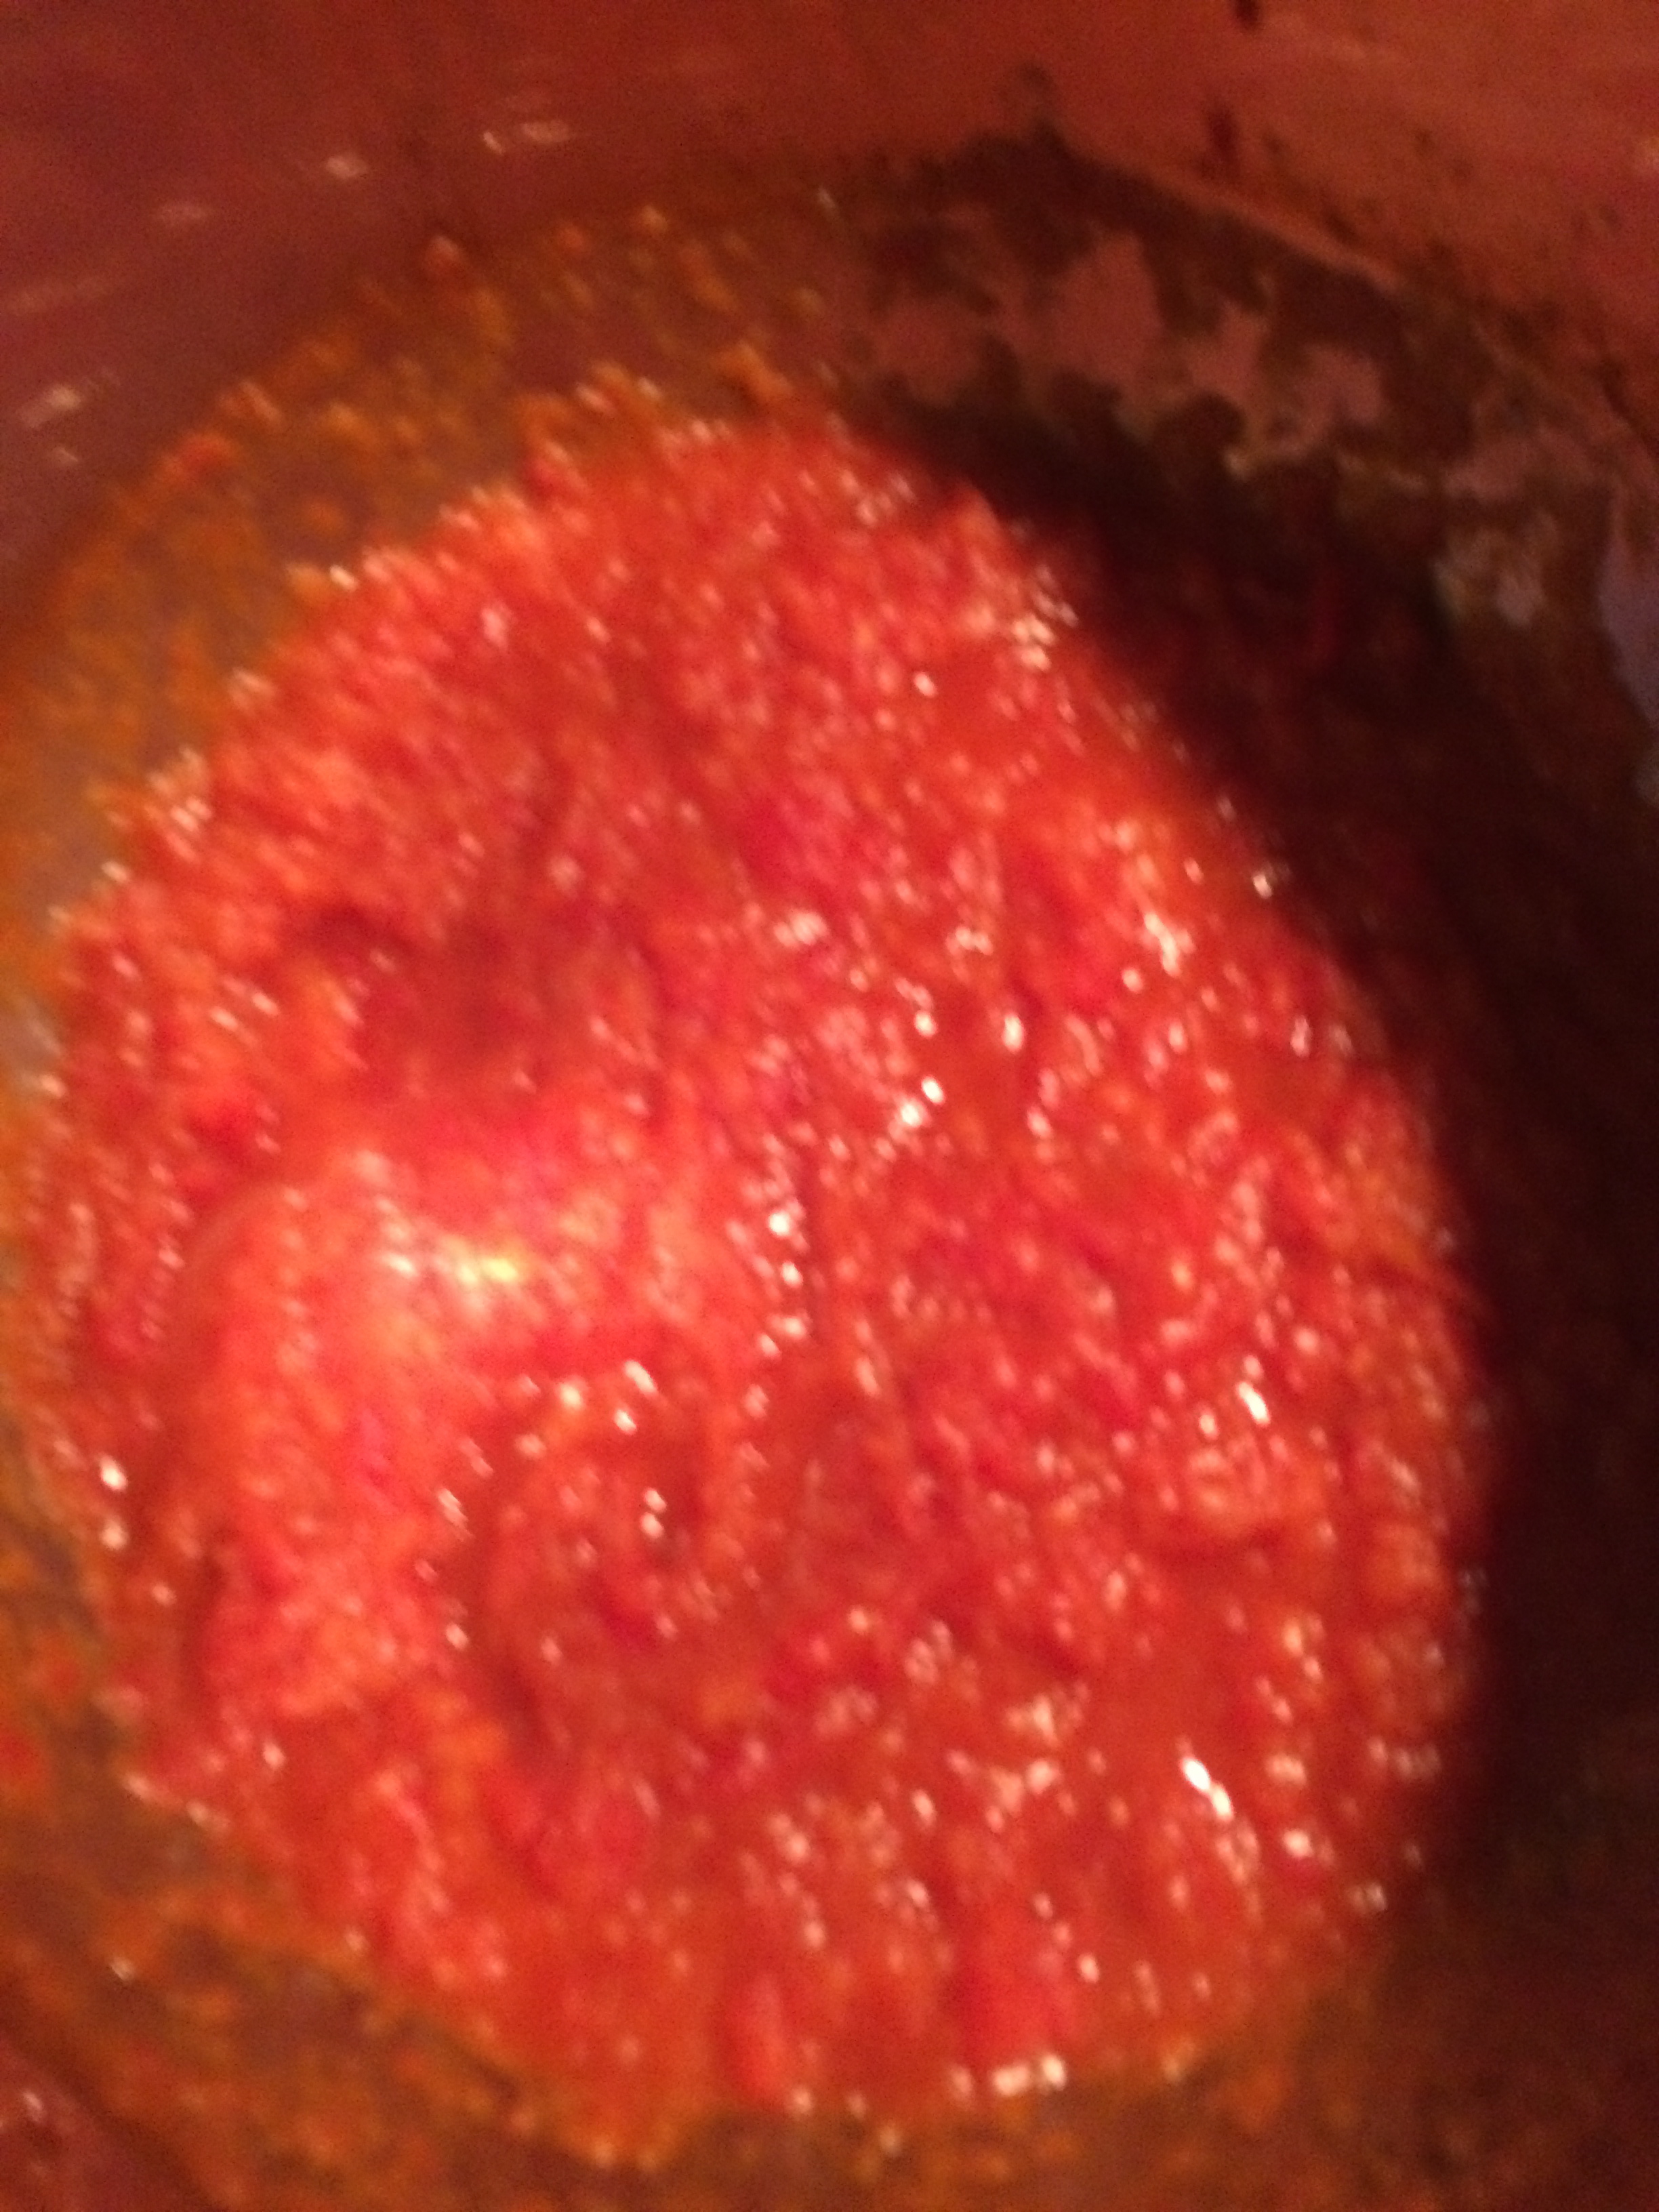
Hold back on adding in the juice until all the tomatoes are in the sauce: saute the tomato pulp for a minute, then add in juice from the can. Stir and cook over medium-high heat for about 4-5 minutes – this part goes quick. Taste and adjust for salt (you can use 1/4 – 1/2 t more here) If you are using good tomatoes, the sauce should be sweet enough, but add 1/2 t of maple syrup or coconut sugar if there is any hint of acidity left at this stage.
Turn off heat and add remaining 1/4 c vodka to pan. Stir well. The idea here is that MOST of the alcohol in the vodka will burn off with the heat of the sauce, but some of it will sneak into your tomato chunks and just make them indescribably yummy. Do not simmer this sauce to keep it warm – if you need to wait on the pasta, keep the sauce off the flame until the very last minute, then heat briefly just before serving.
I use this sauce in a number of recipes, including Baked Manicotti with Kale. But my favorite basic go-to pasta recipe is…
Pasta ala Vodka (for 4)
- 1 pound high quality pasta*
- High quality sea or other high-mineral salt
- Splash of olive oil
Somewhere around the time you start to cook the onions, get your pasta water going. Bring water to a rolling boil in a large pot and SALT IT WELL – it should be briny like the ocean. Please do this. It sounds simple and I know we American’s get fed all sorts of anti-salt propaganda, but trust me – well-salted water is the secret to great pasta. And great pasta is good for the soul.
Cook pasta al dente and drain immediately, return to pot and add a splash of olive oil to it. Toss in the pot to coat pasta in olive oil. If you salted the pasta water well, the pasta should be good enough to eat at this stage without any sauce at all.
Add sauce. 🙂 Toss briefly, adding grated Parmesan if using.
Serve immediately with extra Parmesan on the side. Buon Appetito!
*A Note on Pasta: I have recently been experimenting with gluten free pastas, and have found that the Tinkyada brown rice pastas are great. Feeding a regular crowd? Don’t tell anyone… they will never know.
Spanish Tortilla de Patatas (a Vapor!)
 No vegetarian has ever gone to Spain without overdoing it on the ubiquitous “Tortilla de Patatas”. It’s basically a thick potato omelette which is served on it’s own, as a side dish, as a tapa, and in sandwiches everywhere in Spain. I usually avoid them when I travel, (viewing them as an emergency bus-stop lunch item), but if you can find someone local to make you a a really good tortilla de patatas, fresh, it can truly be a sublime experience.
Here is the catch: after pestering many of our local Andalusian neighbors to show me how to make the real thing, I discovered that what makes the really good tortilla so delicious is that they are basically deep-fried from the inside out. Cut potatoes are slow cooked in massive amounts of olive oil for a long time, before being mixed piping hot with beaten egg and fried again slowly to set into the iconic tortilla shape. And I have to admit that when I am in the Suryalila kitchen, staring over the shoulder of a skilled Andalusian who is enthusiastically deep-frying hand-cut potatoes in a big sarten of homegrown olive oil, it all seems just fine… like the most natural thing in the world. But back here in my own kitchen in NYC, the thought of deep-frying potatoes in cups of olive oil sounds worse than appalling.
So I decided to see if I could make an authentic-tasting potato tortilla using steamed potatoes instead of fried. And… it’s good! Not sublime… but almost as good as the real Andalusian thing, still using a high quality extra virgin olive oil but with no deep-frying required at all.
Why is this important? In addition to a lot of controversy olive oil becoming unstable when heated to smoke point, there is also a carcinogenic chemical called acrylamide which is produced during high heat cooking of certain starches, like potatoes. Keeping cooking temperatures under 248°F reduces acrylamide levels significantly, so steaming and boiling potatoes is much healthier than deep-frying or baking.
Tortilla Español with Steamed Potatoes – Serves 8
- 2.5 pounds potatoes (around 5 – 6 medium)
- 1 onion, sliced
- 6 eggs
- 3 T. extra virgin olive oil
- 2 t. salt
- 1/2 t. freshly ground black pepper
 Cut potatoes into small pieces: In Andalusia, tortilla makers turn each potato in their hand, slicing off small evenly sized scallops from around the top edge with a paring knife and allowing each piece to drop into a bowl of cold water. This gives an interesting shape and allows the egg to slip between the cracks in the final tortilla. Steam the potatoes for 10 – 15 minutes until very tender, but not mushy. Keep hot.
Meanwhile, in a 8″ – 9″ heavy non-stick sauté pan with steep, curved sides, sauté onions in 1 T olive oil and a pinch of salt until soft, sweet and golden brown. Add steamed potatoes to the pan and sprinkle with 1 t. salt, tossing gently lightly to coat. Remove from heat.
In a large metal mixing bowl, whisk together eggs, 1 t. salt and pepper until completely combined. Add hot potato-onion mixture and mix gently to combine.
Clean sauté pan and reheat with 1 T. olive oil until it shimmers on medium/high heat. Add potato/egg mixture all at once and immediately even out potatoes, pressing middle of tortilla down firmly in the middle and allowing the outer edges to creep up the pan.  Lower heat to low/medium and run your spatula around the sides, pushing the egg/potato mixture down the sides of the pan towards the middle, rounding the edges and compressing the tortilla again. Repeat this squishing down and scrunching up movement a couple of times in order to ensure that the egg is releasing from the bottom of the pan, and also to put the maximum amount of egg in touch with the hot pan and potatoes. Allow the tortilla to cook slowly on low heat for 5 -10 minutes, peeking in after 5 and reducing heat to make sure the bottom is not getting too brown.
For a nice video showing how the Spanish handle a tortilla (in full fat glory!) please see here: http://www.youtube.com/watch?v=pvlkYYdIBV0
Flip the Tortilla: When one side is golden brown and has been cooking for 8 – 10 minutes, it is time to flip the tortilla. This takes a bit of practice, not because you need skill, but because it takes confidence to perform a whole-hearted flip. So, if you psych yourself into it, you can do it perfectly on the first try. Ready? (Watch the above video again, then put on some Paco de Lucia to get into the vibe, then go for it!)
Find a rimless plate or a large pot lid that is at least an inch or two larger than your saute pan and one which is relatively flat( slightly curved towards the middle is fine, but you need to be able to slide the tortilla off the plate so no edges…)
 Run your spatula around the edges of your pan and jiggle it a bit, to make sure the tortilla is completely free on the bottom from the pan. then put the plate, upside-down, on top of the tortilla, and in one bold move… FLIP IT OVER. Do this fast and with complete commitment… and maybe also over a sink. The worst thing that will happen is that you get a bit of egg on you, but most likely, you will remove the pan and end up with a beautiful golden brown, half-cooked tortilla on your plate.
Return the pan to the heat (wipe it clean), add the remaining 1 T olive oil, bring it to a shimmer and slide your tortilla – raw side down of course – back into the pan. Do the smash and tuck thing a couple more times, gently, then reduce the heat and allow to firm up for another 10 minutes or so. Poke the tip of a knife into the middle and squish the spatula down to make sure the middle is firm, and cook a bit longer if any liquid comes out.*
Remove pan from heat and take a peek at the bottom to decide which side of the tortilla is the better looking, and then either slide or flip onto a serving platter, depending on which side is more gorgeous one (and how much you just want to flip that thing again…)
Allow the tortilla to sit out on the plate for at least 15 minutes to firm up or allow to cool to room temperature before serving.
*The egg in the middle of the tortilla should be just moist and slightly shiny – not cooked all the way through. The Andalusians really take this seriously and like it …wet. So, find what you are comfortable with, but if you find it’s too wet, you can always slide it back into the pan for a gentle reheat.
If to be served on it’s own, cut into 8 pieces and try it alongside the Rich Spanish Lentil Soup with Quinoa and a tossed green salad.
Enjoy leftover tortilla in other ways:
- As a Bocadillo (sandwich): serve a warm slice of tortilla topped with a whole roasted green pepper in a split fresh baguette. (yes… I saw this one at the Madrid Airport).
- As a Tapa: cut tortilla into smaller, two bite squares and serve open face on a 1/2″ round slice of lightly toasted baguette, topped with a piece of smoky red piquillo pepper and a sprinkle of parsley.
For a vegan version of this recipe, check out my (utterly inauthentic, but still good) Spanish Tortilla..with a Twist!
Tangy Horseradish Sauce (Vegan and Non)
When I was growing up, my Japanese grandmother – whom we all called “Granny” – used to make a sauce with Best Foods Mayonnaise with a bit of soy sauce in it and serve this as a salad dressing on sliced tomatoes. I know – it sounds weird…(Japanese meets 1950’s style middle American food culture!), but actually, you know, it’s a great combination. I ate “Granny’s Best Foods Sauce” on everything when I was growing up – it was my favorite dip for steamed artichokes (still basically is) and its also great with asparagus spears, whole blanched green beans, spears of broccoli or broccolini or broccoli rabe… this sauce totally makes veggies fun!
Over the years I played with adding other flavors like horseradish and capers, and started cutting the mayo with sour cream, then yogurt, and then finally, eliminating it all together in favor of a raw vegan version. At any given time I usually have a couple of versions of this sauce in my refrigerator – maybe one with cumin and lime to drizzle over anything Mexican, and usually a horseradish or caper version for artichokes or any other steamed vegetable. I also float a spoonful of this in my Creamy Beet Borscht soup recipe….
Tangy Horseradish Yogurt Sauce
- 1/4 c whole milk yogurt, (or Greek yogurt, or sour cream)
- 1 T mayonnaise (I grew up with Hellman’s/Best Foods and nothing else tastes right to me)
- a few drops of soy sauce (really, about 1/8th teaspoon – this makes it, and no one will know)
- 1 t. horseradish (fresh, grated, if you can get it, or prepared is fine – look for “hot”)
Whisk together well in a small bowl. Serve with anything!
Vegan Horseradish “Sour Cream”
- 1 c cashews, soaked 4 – 6 hours
- 1/2 c water
- 1/4 olive oil
- 2 T lemon juice
- 1/2 t salt
- a few drops of soy sauce (really, about 1/8th teaspoon – this makes it, and no one will know)
- 1 few drops of umeboshi vinegar (optional)
- 2 t. horseradish (fresh, grated, if you can get it, or prepared is fine – look for “hot”)
Blend all ingredients, except horseradish, in a Vita-Mix until completely smooth. Mix in horseradish. Thin with water if needed to achieve desired consistency.
Play with it!
- Add cumin and lime juice – use it alongside salsa and guacamole to top tacos, tostadas and anything else vaguely Mexican.
- Replace horeradish with chopped capers, ad a bit of garlic and fresh lemon for another nice artichoke sauce.
- Leave out horseradish and serve plain.
Gazpacho Andaluz!
 Hola from España! I am back at Suryalila and midway through cooking for about 45 people on another Yoga Teacher’s Training with Vidya. Everyone here is studying very hard right now and I am again in the Suryalila kitchen, where our team has happily hit cruising altitude and is flying smoothly through meal after beautiful meal.
What could be more appropriate for September Equinox in Southern Spain than Gazpacho Andaluz? Here is my favorite recipe – when I made it the first time I was here I was shy about how truly “Andalusian” it was, (especially with my obvious deviations, like fresh ginger!) but since then I have gotten the big thumbs-up from our local friend Manuel and many of our neighbors, so I now can proudly say it’s been officially sanctioned. The hard-boiled egg topping, “huevo duro”, was the only suggestion from Manuel – and it’s a great one – so I have added as an optional third condiment.
Gazpacho Andaluz – for 10
- 4 cups fresh sweet tomatoes, roughly chopped
- 2 cups cucumbers, peeled (seeds ok), in pieces
- 1 cup sweet red bell peppers, roughly chopped
- 1 clove garlic, minced
- 1/4 small red onion, cut small
- 1 T fresh ginger, cut small
- 1 cup extra virgin olive oil

- 1 1/2 t. balsamic vinegar
- 1/2 t. freshly ground pepper, or to taste
- 1 T high quality sea or Himalayan salt
- 2 T honey or coconut sugar, or to taste
- 3/4 cup sun-dried tomatoes, soaked in 2 cups water

Mix together all ingredients in a large bowl, then blend in batches in a Vitamix until completely silky smooth, adding tomato soak water if necessary to blend, or a little ice as necessary to keep cool. Adjust for salt and sweet, and chill well before serving.
Serve well chilled in a big bowl, along with small bowls of toppings…
- Homemade Garlic Croutons (or leave out, for gluten-free)
- Mixed Veggie Topping
- Huevo Duro (or leave out, for vegan version)
Homemade Garlic Croutons
Please do not use prefab croutons here! Once you try these you will never go back.
- 8 slices of whole grain bread, torn or cut into bite-sized pieces
- 1/4 cup high quality olive oil
- 1/2 t salt
- 1/2 t freshly ground pepper
- 1 T crushed garlic
Mix garlic, salt and pepper into olive oil in a large bowl, combining well. Add bread all at once and toss vigorously to coat all the bread as evenly as possible. Taste and adjust, adding more oil and salt if necessary. It should be delicious already. Toast slowly in a dry stainless or cast iron frying pan, stirring occasionally until browned and crunchy on all sides (my favorite method, since they stay a little soft in the middle) or toast in a 325° oven until crisp through.
Mixed Veggie Topping
- 1 large red or yellow bell pepper, diced
- 1 cucumber, peeled and diced
- 1/2 green bell pepper, diced
- 1/2 small red onion, diced
Combine together and toss with a little olive oil and salt just before serving.
Huevo Duro (optional)
8 high quality eggs, hard-boiled for 10 minutes and diced.
A Note on Eggs…
Please make sure your eggs come from happy, pastured hens, or forget about using them. Seriously, this soup is fantastic without the huevo duro, and the only reason I am including it is this is how they do it here in Andalusia. Everyone who lives here seems to have chickens pecking around in their back yards, and happy, sun-drenched hens make for very good eggs. So please just skip the eggs if you can’t vouch for the happy hens.


Wild Nettle Gnocchi Adventures in Spain…
 “Hey – let’s walk out to the old convent to pick nettles and make stinging nettle gnocchi!” Krishana says…
How could I say no to that? Even though I have been in Spain for less than a week, and I am still living from a suitcase more or less camping out in a house strewn with unpacked furniture…and even though I only have a few weeks to get settled and get the new retreat center kitchen together, equipment purchased, people organized, supplies ordered…
 How could I say no? So we walked through the olive orchard (we have 350 trees!), over the neighboring wheat fields and to the god-only-knows-how-old crumbling ruin to which I look out upon from my bedroom window each morning. They call it The Convent. It is huge and roofless, with arched windows in the tower that look out over miles of surrounding countryside, including our property, Villamartin, Prado del Rey, and Arcos de la Frontera, a few the famous Andalusian white villages.
Inside, the entire ruin is completely full of waste-deep dark green stinging nettles! Armed with (almost-thick-enough) gloves, we harvest the lovely, giant, tender nettle leaves from the one shady corner, carefully picking just the leaves. Nettle flowers contain an irritant to the urinary tract, but the leaves and stems are surprisingly rich in protein (up to 25% dry weight) and full of iron, potassium, manganese, calcium, as well as vitamins A and C. Steamed, they are very tasty… like a soft, rich, extra-green tasting spinach.
 Krishana, who I come to understand is a bit of a celebrity gardener on Martha’s Vineyard, has taken it upon herself to create a giant organic vegetable garden for the Suryalila Retreat Center kitchen. In the two months since I was last here, has miraculously transformed about an acre of what looked to be hopelessly barren, rocky, dry soil into rows and rows of sprouting, peeking, microgreen potential! I mean, we are talking about rows of tatsoi, mizuna, spicy braising mixes, 3 or 4 types of kale, chioggia and bull’s blood beets… (wait – is that even vegetarian?). We are planting huge amounts of crazy gourmet vegetables, flowers, and herbs- some of which I have never worked with so I can’t wait until they all come up!
I have to say that Krishana is also the kind of person who is super fun, and who will always be getting you into trouble. I have known her for two days and already I know this – yesterday we were chased around by the local supermarket police, got almost lost several times trying to find our way back from town, and arrived back and the kitchen at 7pm which is when I should have had dinner finished. And now we are climbing through barbed wire fences to get to the elusive nettle patch when we are probably both supposed to be doing something more responsible… how great is that!
 So yes, I am finally here in Andalusia Spain! I will be here for 6 months to a year to start, setting up the Suryalila kitchen, cooking, blogging and, I suspect, soon embarking on a crash course in organic gardening. The property already has loads of fruit trees (lemons, tangerines, figs, cherry, peaches, apricots, quince and the Sevilla oranges) not to mention loads of olive trees and some almond trees, which are just starting to blossom. And now Krishana has planted almost an acre of organic vegetables which should take care of most of our veggie needs for most of the year. If not… well, there just happens to be an organic farming collective just 15 minutes away. Folks, we are going to eat well this year, so if you have ever harbored any fantasies about roaming the Andalusian countryside, picking oranges and almonds off the trees, drinking good (cheap!) Spanish wine, maybe doing a little yoga or horseback riding…all while enjoying amazingly fresh local organic gourmet cuisine… you might think about coming for a visit to Suryalila while I am here.
So, in celebration of our almost 1/4 acre of newly planted potatoes and to continue the gnocchi theme, here is recipe for potato gnocchi – the all day, even-though-it’s-not-Saturday type. We started with over 5 kg of potatoes, and after feeding a very enthusiastic crowd of 10, I have enough frozen for at least one more meal, maybe two. This recipe I adapted from Michael Chiarello’s potato gnocchi recipe, because it seemed to have a higher ratio of eggs than most. Did I mention that the fruit orchard is also a huge chicken yard, housing nearly 100 birds – chicken, geese, turkeys, and peacocks? We are now bringing about two dozen eggs a day, and because I don’t use a lot of eggs or dairy in my cooking, they are starting to pile up. (My new challenge this year with be in managing abundance!)
 So here is a great potato gnocchi recipe, to which I added the bounty of our our wild nettle harvest, with the result being the most lovely plump little green flecked dumplings you could ever imagine. Delicious and totally worth the work!
Wild Nettle Gnocchi for about 24
- 10 pounds potatoes
- 2 -3 cups coarse or kosher salt (not a typo)
- 15 egg yolks
- 5 cups all purpose flour
- 4 cups fresh nettle leaves, without stems or seeds
- Freshly ground pepper
Preheat oven to 425°
Blanch the nettles in about an inch of generously salted water. Drain, cool, squeeze dry and chop coarsely.
 Wash and bake the potatoes on a layer of course salt for 45 minutes or so until very tender, then peel the potatoes while still hot, being careful not to get too much salt into the whites. You can save the salt to use in the next batch. Press the potatoes through a mill or grate, (or mash by hand if you are ok with something a bit more rustic and lumpy – this is what I did and it was great). Taste for salt and add some if they don’t taste like… well, mashed potatoes. I found that after the salt baking and messy peeling process I did not need to add any more salt, but you are probably a neater cook than I am.
If the potatoes are still screaming hot, spread out to cool a bit so the yolks don’t cook, then, using a fork, gently work the eggs yolks into the warm but not hot potatoes, cutting them in and keeping it all as fluffy as you can. Dump a couple cups of flour on a worktable, top with your potato mixture and gently work in most of the flour, using your knuckles and hands to gently work and fold it in, (without really kneading it though). Scatter the chopped nettles over the dough and gently fold in a few times to partially integrate, leaving it a bit flecky. It’s nice to have bits of green here and there.
You may not need all the flour here, and you may need a bit more, but go for less if possible. This part is really “by feel” and its a great feeling so enjoy it! You should have something that is just barely a dough, and that you can roll into ropes as long as it is very well covered in flour. Split the dough into 4 pieces, and pat each piece into a 1 inch think rectangle. Slice 1 inch pieces off and roll them between your palms into 1/2 inch ropes, then cut again into 1 inch logs. You can leave these as little dumplings, or roll them off a fork, Italian Granny style…
Keep in a single layer on a well floured sheet-pan until ready to cook or freeze. If you are freezing, just put the whole pan in the freezer and bag up the gnocchi when frozen solid.
Cook gnocchi in small batches in boiling salted water for 1 -2 minutes after they bob to the surface of the pot. Drain well and toss in a pan with very good olive oil or butter and a little Parmesan, salt, and pepper, or serve with your favorite sauce.


About halfway through the process, I realized I had someone who did not eat wheat, but luckily I had a bit of potato left over so so I whipped together a gluten free gnocchi using rice flour. It worked amazingly well! Makes me want to try with corn flour, spelt, etc…
Gluten Free Wild Nettle Gnocchi for 2
- 2 cups salt-baked, mashed potatoes (see above)
- 1 cup rice flour
- 1 large egg plus 1 yolk
- 1/4 cup cooked, squeezed and chopped nettles (see above)
- pinch of salt if necessary
Make gnocchi as show above, but don’t worry about overworking the dough… you can’t. These will be a bit more delicate to cook, so its best to keep them in a simple log or pillow shape, rather than rolling them off the fork which makes them want to fall apart. Enjoy!
